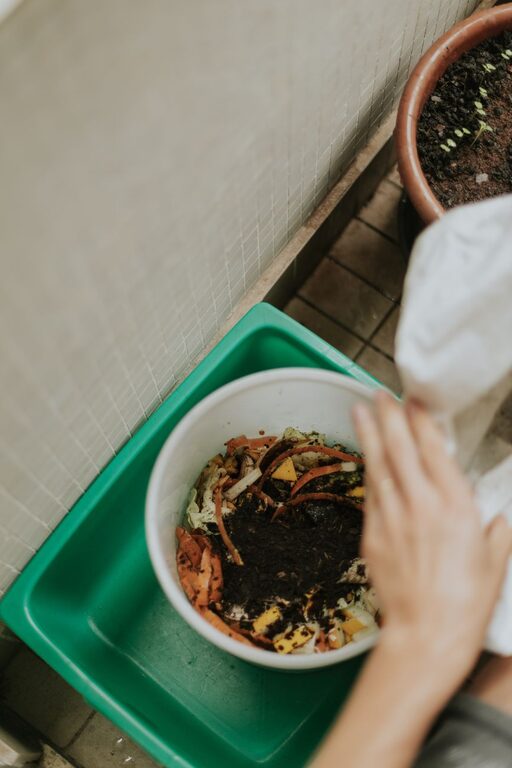
Composting at home is an excellent way to recycle kitchen scraps and yard waste into nutrient-rich soil that benefits your plants and reduces landfill waste. If you’re new to composting, the process might seem confusing at first, but with a few simple tips, you can easily get started. This guide will walk you through the basics of home composting, helping you create a thriving compost pile or bin.
What Is Composting?
Composting is the natural breakdown of organic materials like food scraps and garden waste into dark, crumbly soil called humus. This process is carried out by microorganisms, worms, and insects that transform waste into a valuable fertilizer. Composting helps reduce waste, lower greenhouse gas emissions, and improve soil health.
Why Compost at Home?
– Reduce waste: Composting keeps food scraps and yard debris out of landfills.
– Improve soil: Compost adds nutrients and improves soil structure.
– Save money: Reduce the need for store-bought fertilizers.
– Support the environment: Lower your carbon footprint by recycling organic matter.
Getting Started: What You Need
Choose a Composting Method
There are several ways to compost at home, including:
– Compost bin: A container that holds your compost pile, ideal for small spaces.
– Compost pile: A simple heap in your yard.
– Tumbler: A rotating bin that mixes compost easily.
– Vermicomposting: Using worms to break down scraps indoors.
Choose the method that fits your space, time, and preferences.
Select a Location
Pick a spot that is:
– Shaded or partially shaded to retain moisture.
– Easily accessible for adding materials and turning the pile.
– Near a water source to keep the compost moist.
Gather Materials
Composting materials fall into two categories:
– Greens (Nitrogen-rich): Fresh plant materials like fruit and vegetable scraps, coffee grounds, grass clippings.
– Browns (Carbon-rich): Dry materials such as leaves, straw, paper, cardboard.
A good mix of greens and browns is essential for healthy compost.
Beginner Tips for Successful Composting
1. Balance Greens and Browns
Aim for a ratio of about 2 parts browns to 1 part greens. Too many greens can create a smelly, wet pile, while too many browns slow down decomposition.
2. Chop or Shred Materials
Smaller pieces break down faster. Chop up large scraps and shred leaves or cardboard before adding them.
3. Keep It Moist
The compost should feel like a damp sponge—not too dry or soggy. Water the pile occasionally if it dries out.
4. Turn Your Compost Regularly
Aerate the pile by turning it every 1-2 weeks to speed up decomposition and prevent odors.
5. Avoid Adding These Items
Do not add meat, dairy, oils, pet waste, or diseased plants as they can attract pests or cause problems.
6. Be Patient
Composting can take a few months to a year depending on conditions. Finished compost looks dark, crumbly, and smells earthy.
Tips for Indoor Composting
If outdoor space is limited, consider vermicomposting with red worms in a worm bin. They can process food scraps quickly, and worm castings provide nutrient-rich fertilizer.
Using Your Finished Compost
Once your compost is ready, use it to:
– Enrich garden beds and potted plants.
– Mulch around trees and shrubs.
– Start seeds with nutrient-rich soil.
Troubleshooting Common Issues
– Smelly compost: May be too wet or have too many greens; add more browns, turn pile.
– Pile not heating up: Add more greens, turn pile to add oxygen.
– Slow decomposition: Chop materials finer, keep pile moist and aerated.
Final Thoughts
Composting at home is a rewarding and eco-friendly habit that anyone can adopt. Start small, experiment with what works best for you, and enjoy the benefits of reducing waste and nurturing your garden naturally.
Happy composting!
About the Author